People tend to be pretty impressed that I dare to develop my own film at home. And it blows their mind that the main ingredients are instant coffee and soap. They treat me with a sort of monastic reverence, as if I’m a practitioner of a long forgotten art, as if I’ve spent years deep in study in musty libraries unearthing some ancient wisdom. But that’s ridiculous. Developing film at home is actually quite easy, and I would even go so far as to say that It’s not any more difficult than boiling pasta.
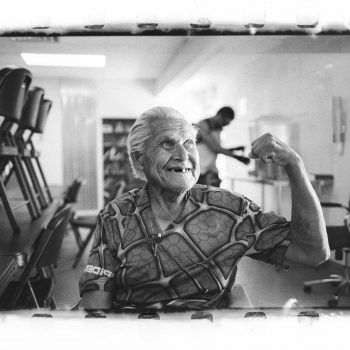
Sure, developing film can be complicated if you want it to be — if you are striving for perfection, working with color film, or if you simply enjoy tinkering with nuances of chemistry. But that’s all optional. Black and white film is remarkably tolerant to inconsistent processing, and my digital camera is already capable of creating nearly flawless images so I don’t really care about perfection. If anything, I appreciate the unexpected results I get when taking a cavalier attitude toward my developing process. You can see examples here.
There are probably seven million guides out there on the internet that do a good job of explaining how to develop film. I’ll probably create a full on tutorial of my own at some point, but for now I’ll just recommend this article from Adorama because it’s a great overview, and this video because it explains how to work with homemade ingredients. And for those of you that enjoy tinkering and precision, caffenol.org is your introduction into a great community for that. Between these two links, you can learn just about everything there is to know, and you have everything you need to get started.
So instead of focusing on the details, I’d like to convince you of how easy it is to develop your own black and white film wherever you happen to be, and encourage you to actually get started. I think that the only reason people are scared of doing it themselves is because we have lost touch with physical creation processes. We’re very comfortable with dials and touch screens, but very rarely do we bother to use paints or chemicals. But it’s a pleasurable thing, and it can teach you a lot.
The first thing that you should know about developing black and white film is that it’s not nearly as precise and finicky a process as you probably think it is, and you do not need very much in the way of special equipment. I’ve heard stories of photojournalists on deadline processing film in the trunks of their car, and sports photographers racing to develop film in the stadium bathrooms in hopes of being the first to get their shots in the paper. Developing film can be done nearly anywhere if you have a light proof bag, and most rooms become darkrooms once the sun sets and you turn off the lights.
Furthermore, precision is largely unnecessary. You have an enormous amount of wiggle room to correct for mistakes at two different points in the process: you can change the amount of time you let the film “cook” in the developing tank, and you have remarkable ability to salvage poorly exposed or developed images at the scanning stage either by modifying the amount of light you shine through the negative, or by changing the exposure time on the scan. Between these two things, you can nearly always guarantee results. Just err towards over exposing and/or over developing, because letting it cook for longer means that something will inevitably show up in the negative — whereas undercooking runs the risk of losing the image forever.
And the process itself is incredibly simple. Like I said, it’s not much more difficult than boiling pasta. I know I said that I wouldn’t give you a tutorial on how to develop film, but to prove a point I’ll explain it in just a few sentences. First, you need to get the film into a developing tank that protects the film from light, but lets you pour chemicals in and out of it. You have to do this in complete darkness, and this is by far the hard part. But it just takes a little practice. Once the film is in the developing tank, all you need to do is stir together some washing soda, vitamin c powder, and shitty coffee, and then pour that sludge into the developing tank. Shake it every so often for about fifteen minutes, dump it out, rinse it out, and then add the fixer to end the process. And that’s it. Your film is developed. Unless you specifically enjoy the precision and the process of tinkering with the subtleties of process, there is no need to strive for precision. This is enough.
You can get great results just by getting things more or less in the ballpark. Instead of asking yourself if the water is exactly 22 degrees, or whether you agitate for thirteen minutes or fifteen minutes, just focus on whether the water is kinda warm or kinda cold, and then guesstimate an approximate adjustment to some other part of the process in order to compensate for the difference. A minute or so and even a dozen degrees in either direction will not ruin your image, and more importantly, coming up with a good guesstimate requires that you actually understand what is going on (rather than just relying on charts), so you’re learning.
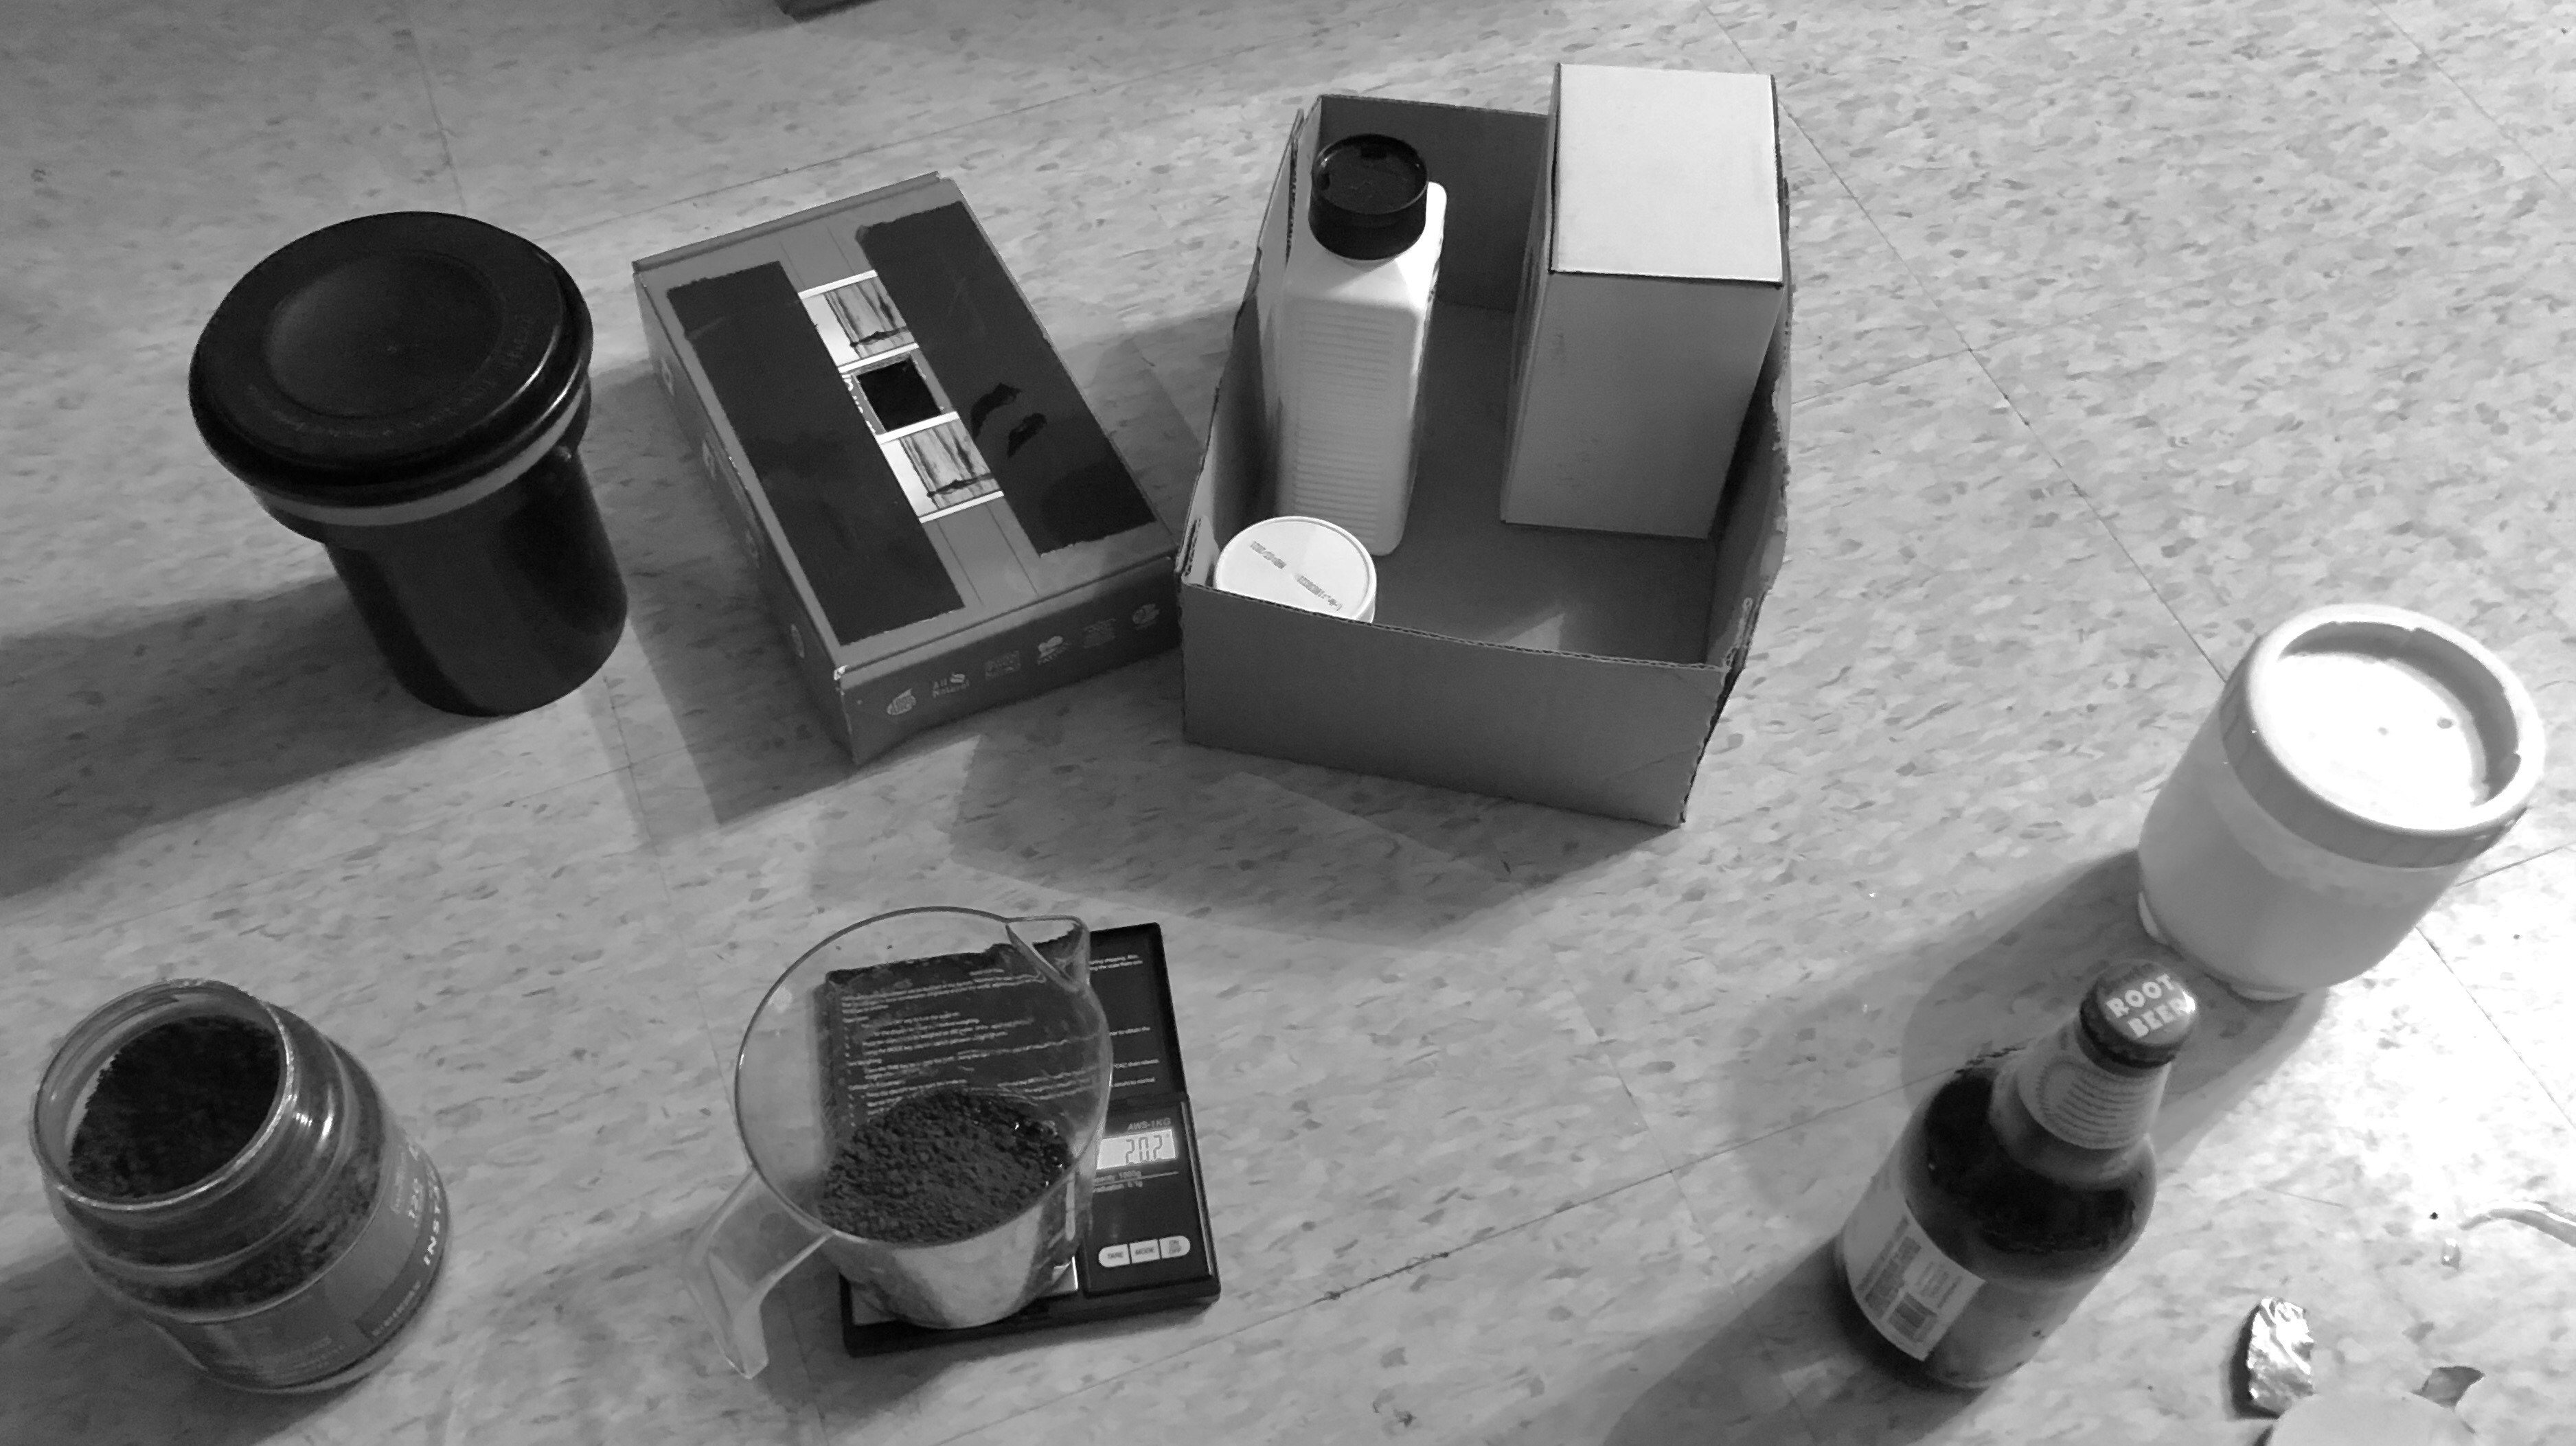
Finally, the last thing that you should know is that all you really need is one special chemical that is pretty cheap and highly reusable. You can can get it at any camera store. Other than that, you can actually develop film with standard household items that can be purchased at Walmart or Amazon like measuring cups, funnels, soap, vitamin C, crappy coffee, and some clothes clips for hanging your film to dry. A complete setup shouldn’t cost you more than 50 dollars, and you can store it all in a standard sized plastic crate that lives under your bathroom sink and have it ready to go any time. And it’ll pay for itself in no time since you will be saving 5-10 dollars per roll developed.

You can save even more money if you scan the negatives yourself — check out this tutorial for more details.
Have I convinced you to get started? Great, well here’s a list of everything you’ll need to develop your own film at home:
- Folgers Coffee (this is the only proper use)


