I finally got around to shooting film this year, and it’s been a blast (I post it all over on Instagram at @ongoing.developments, in case you’re interested) I won’t get into too many details, but suffice to say that for me, it’s more about the process than the aesthetic. The fact is that, these days, digital effects can more or less replicate the look and feel of real film. And in general, I don’t think that I could tell the difference between a processed digital image and the real thing — certainly not for 35mm frames and at instagram resolutions.
I enjoy shooting film for the same simple reasons that people enjoy finger-painting or knitting or whittling a spoon. There’s just something satisfying about getting hands on with the physical process of creating, and it’s an itch that doesn’t get scratched as often these days when we spend most of our time create by just tapping around flat pieces of glass and occasionally pressing a button.
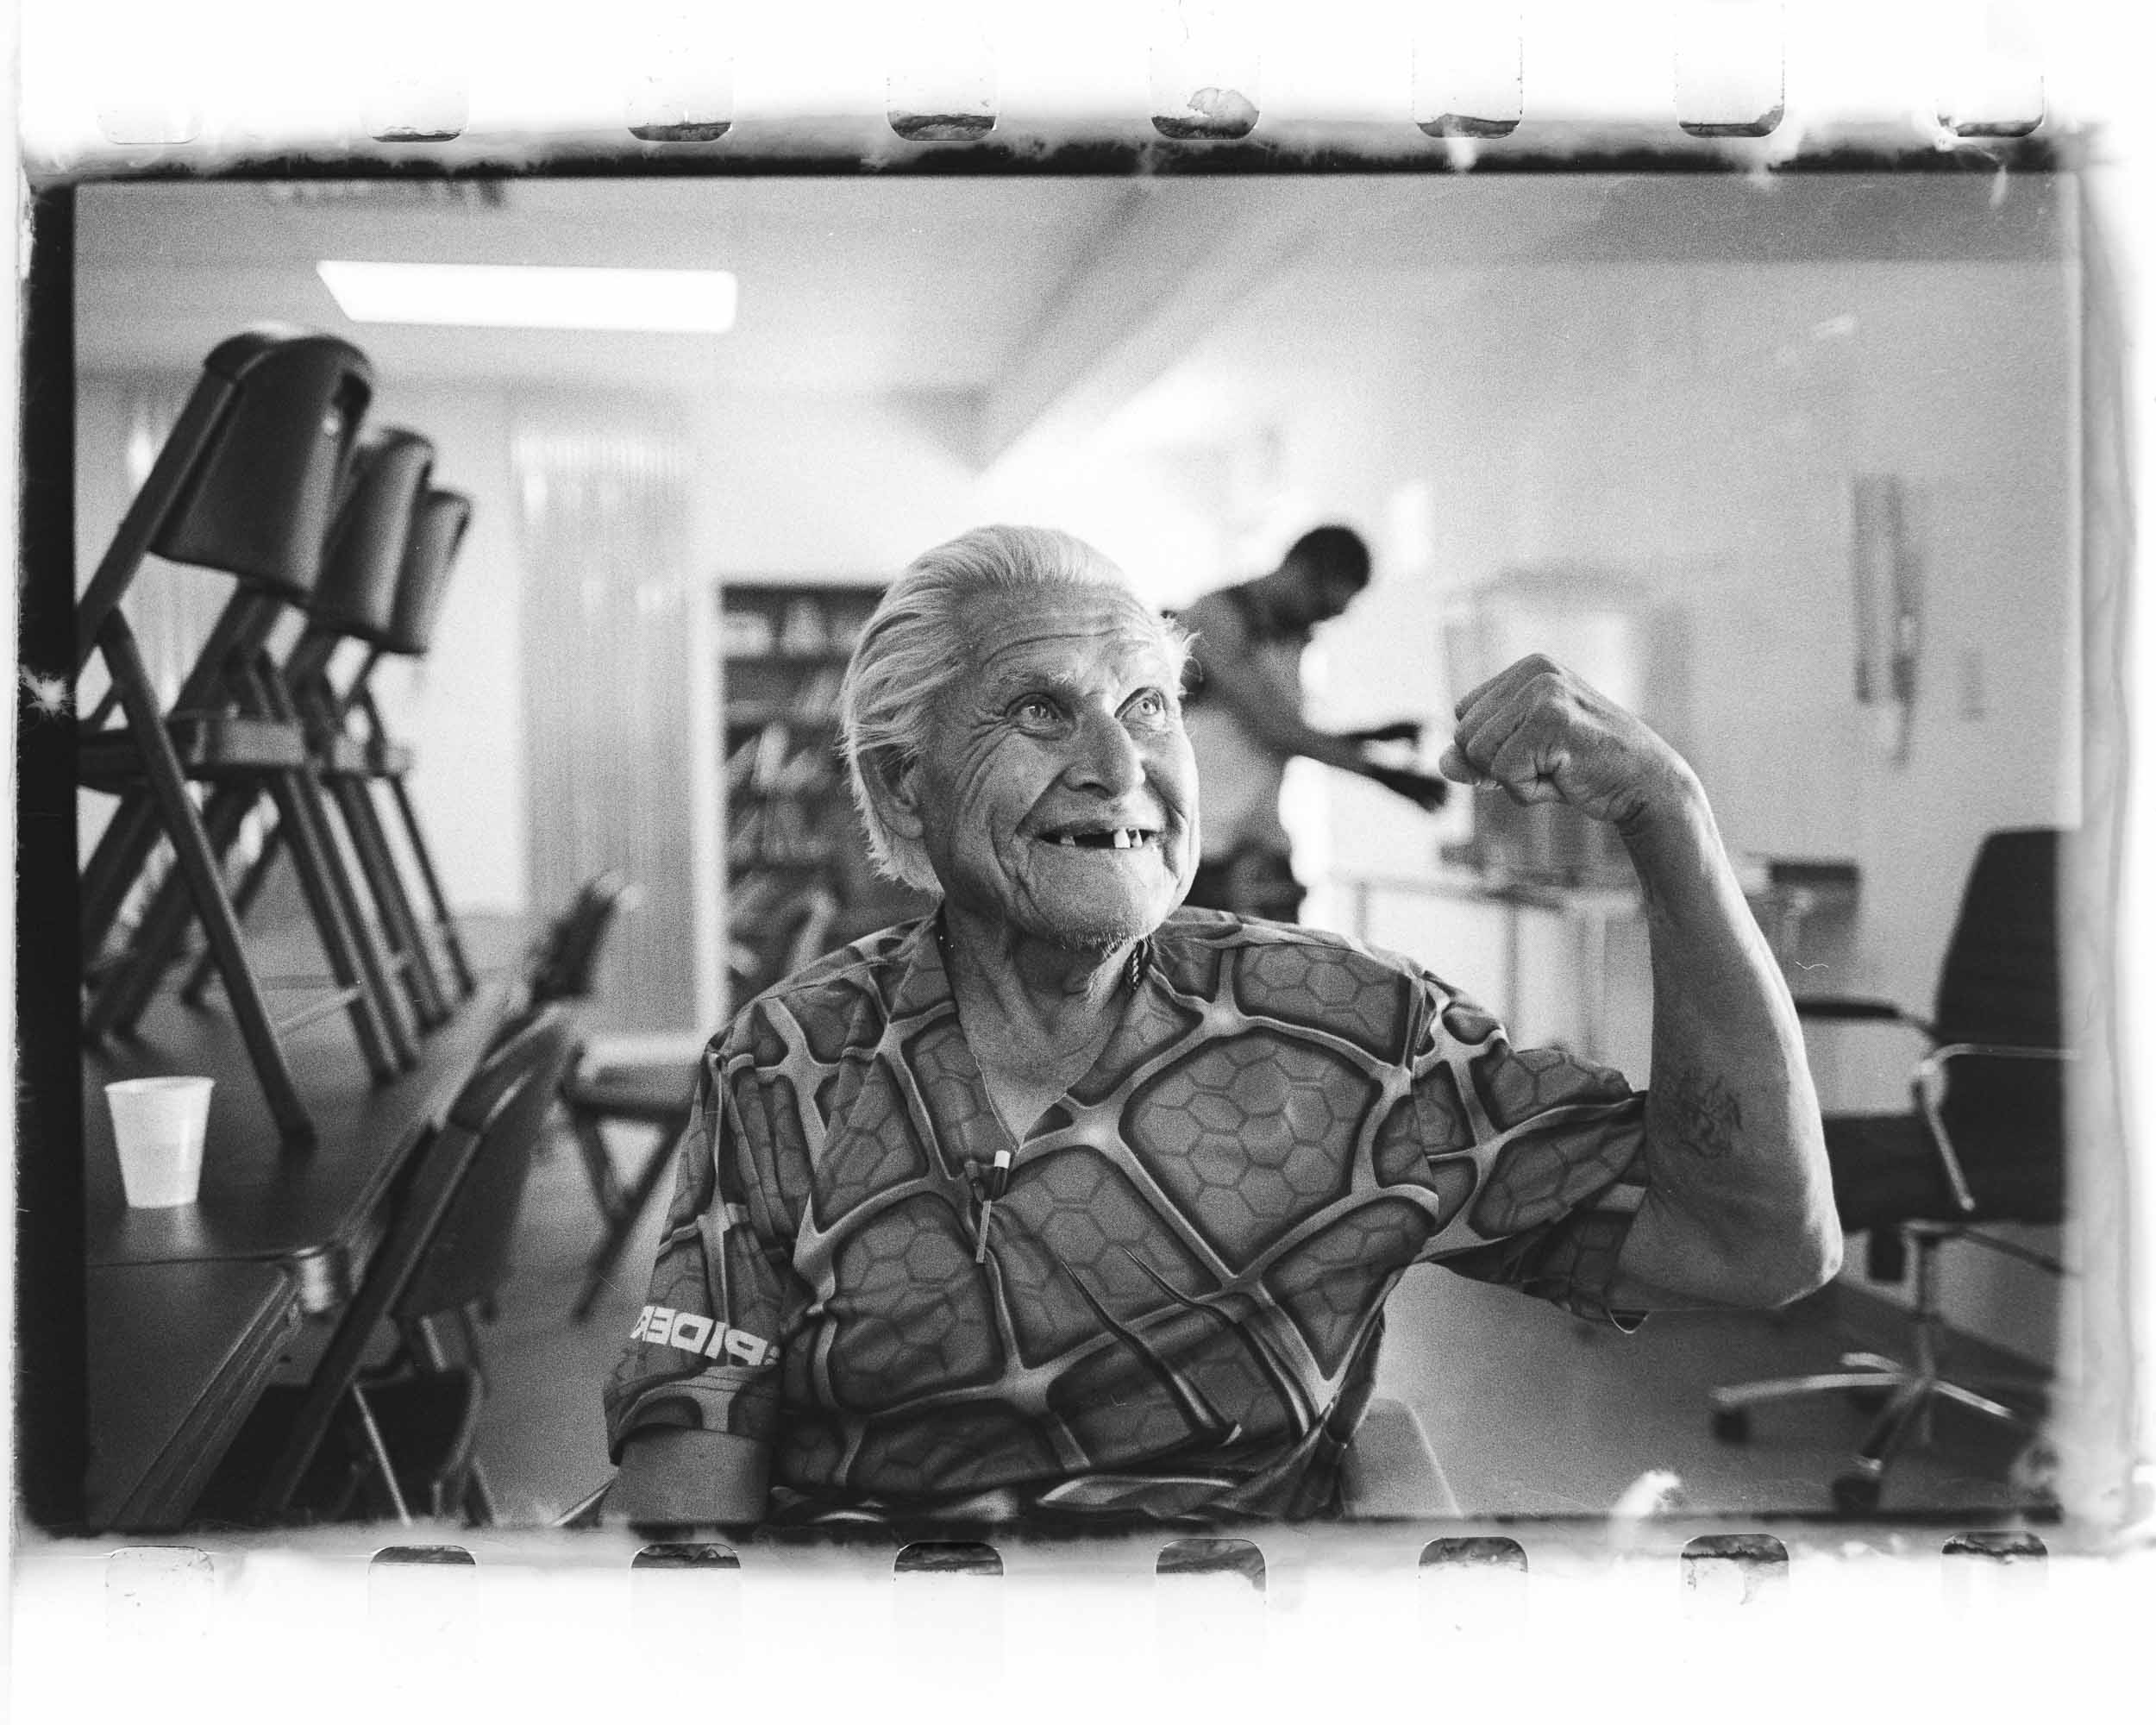
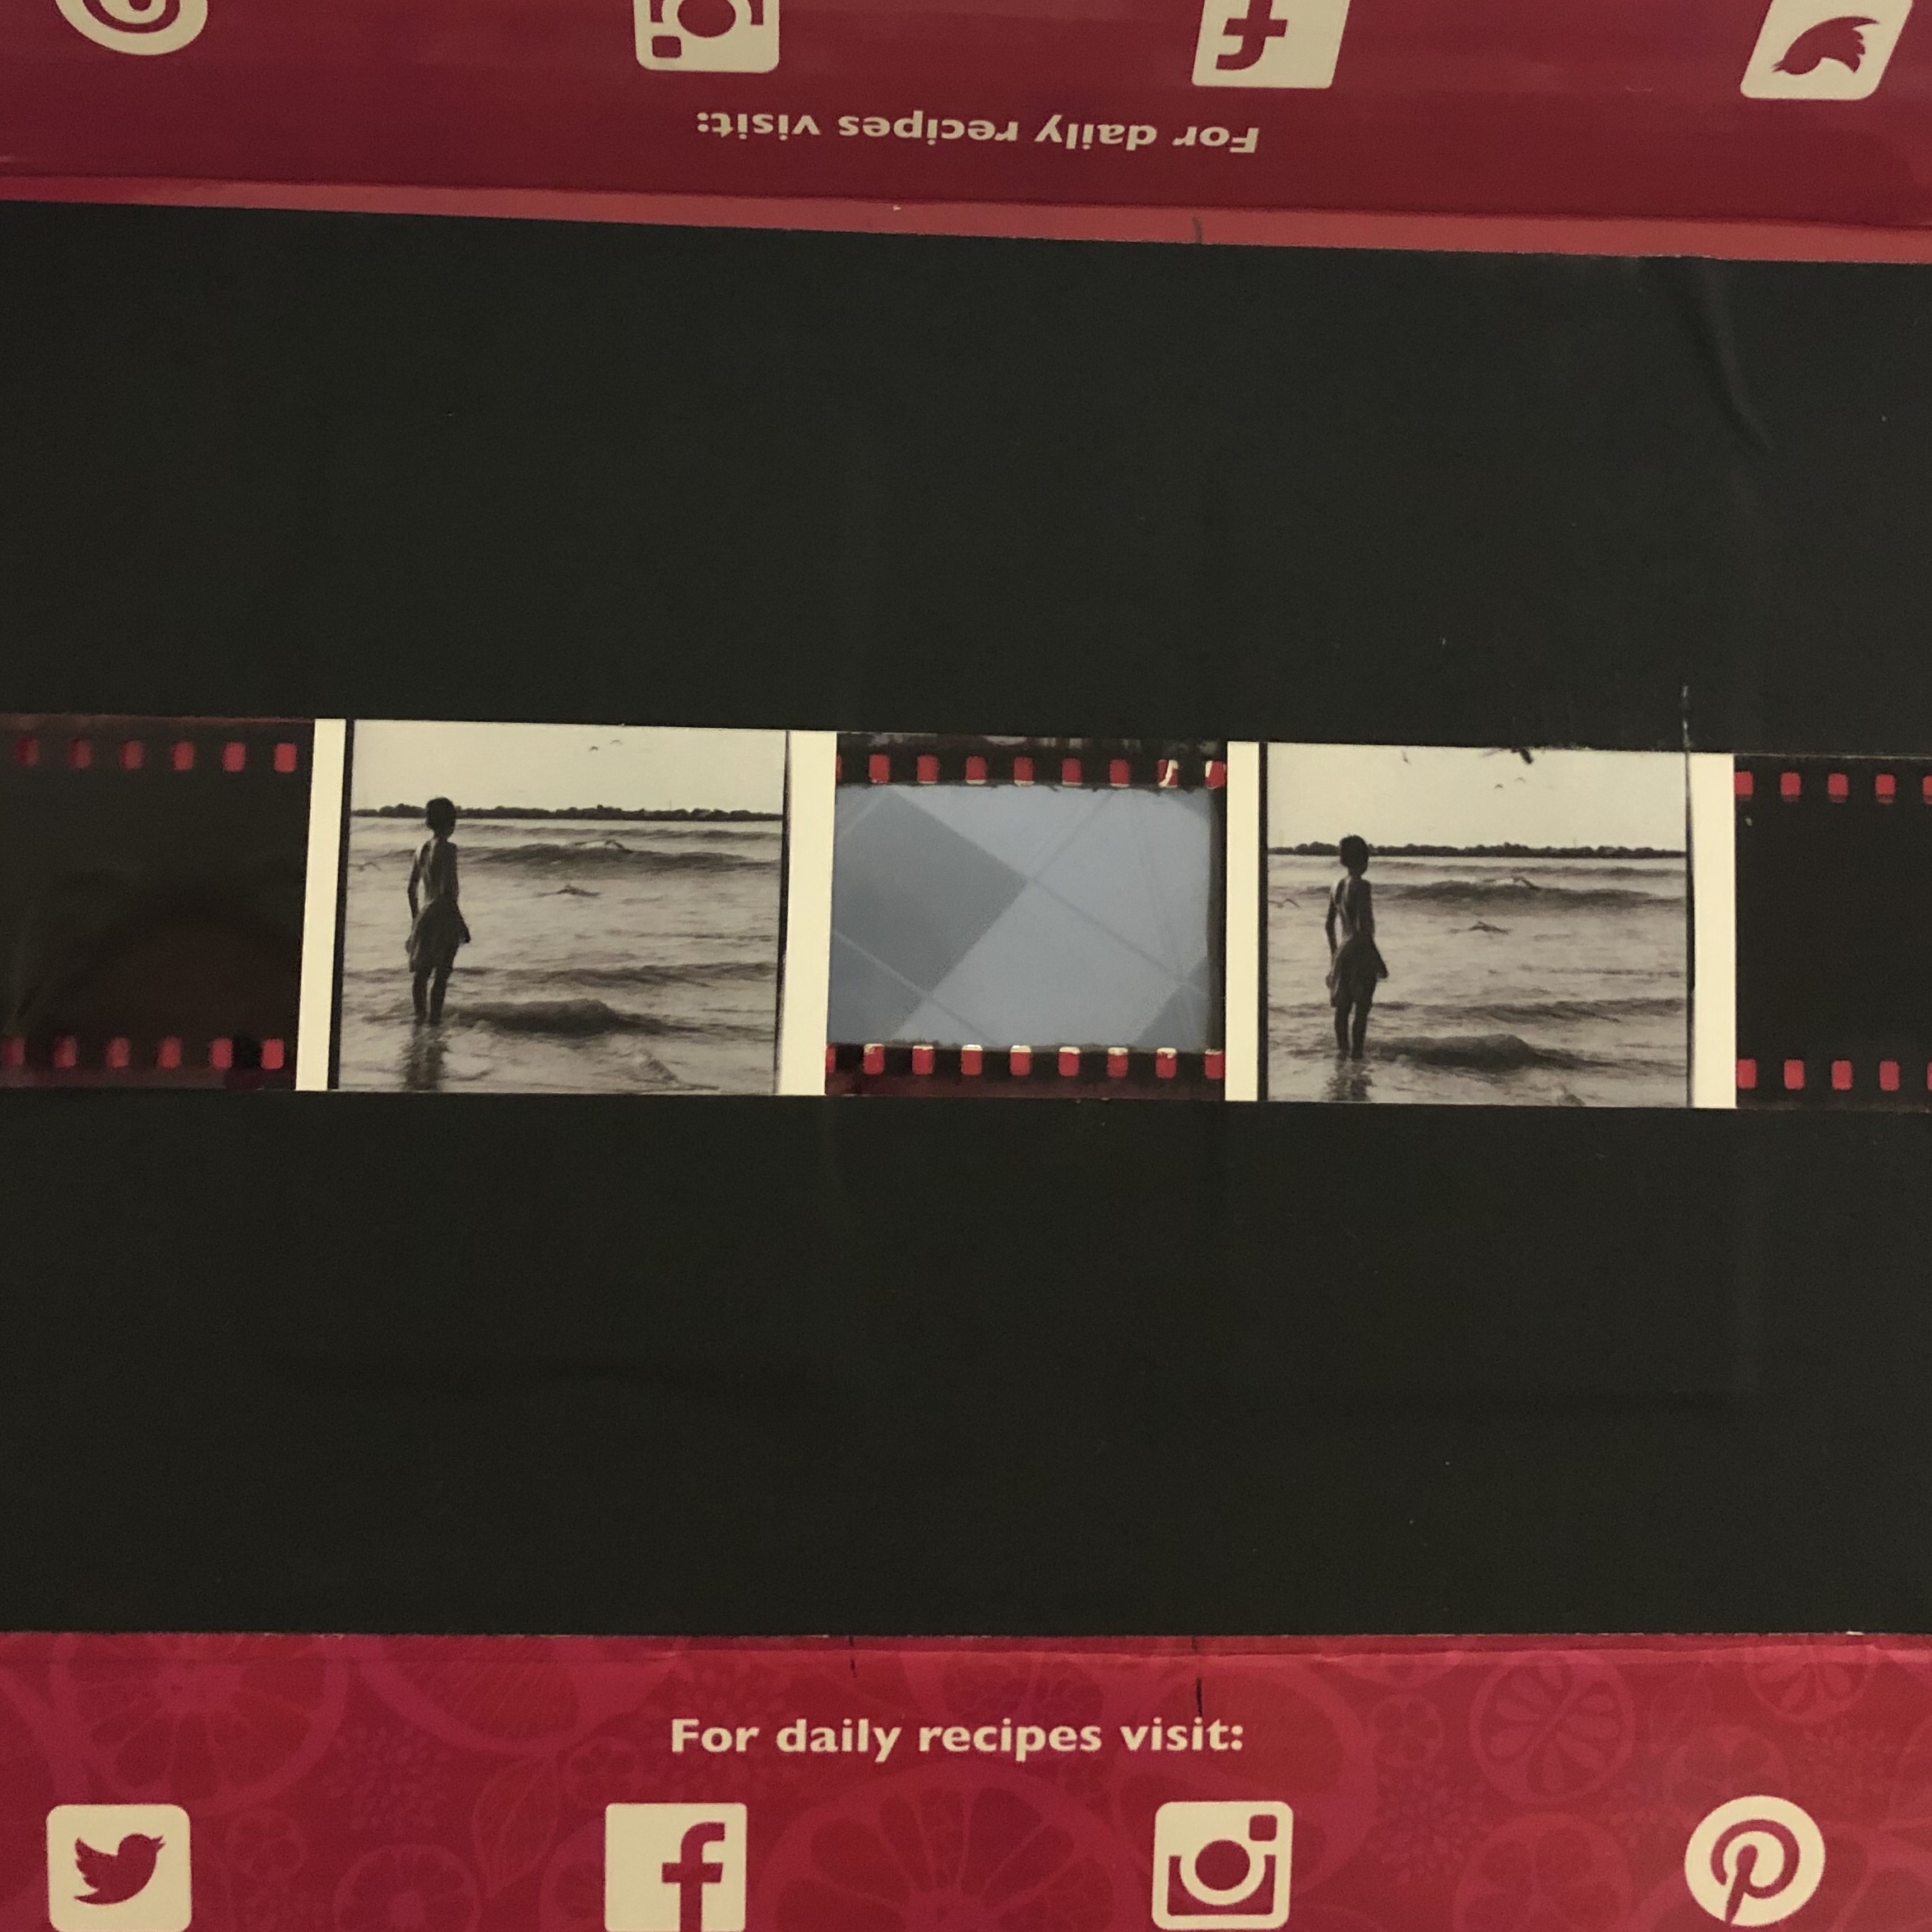
But as much as I enjoy being hands on and analogue about things, it is 2019 and you still have to post it on the internet eventually. So in the same artsy-crafty spirit that got me shooting film in the first place, I used an old shoebox and various other items I had lying around to build a super cheap DIY scanner. It doesn’t yield flawless scans by any means, but that is part of the charm. I really like the unique border that forms a frame around the image. It’s like a fingerprint. It reminds you that it’s a physical thing every time you look at it.
Here’s how to make one:
First, gather the materials:
- A ruler
-
Box cutter
-
A box
-
A light source (ideally an iPad, but it can be phone if you can find the right sized box)
-
Two business cards
-
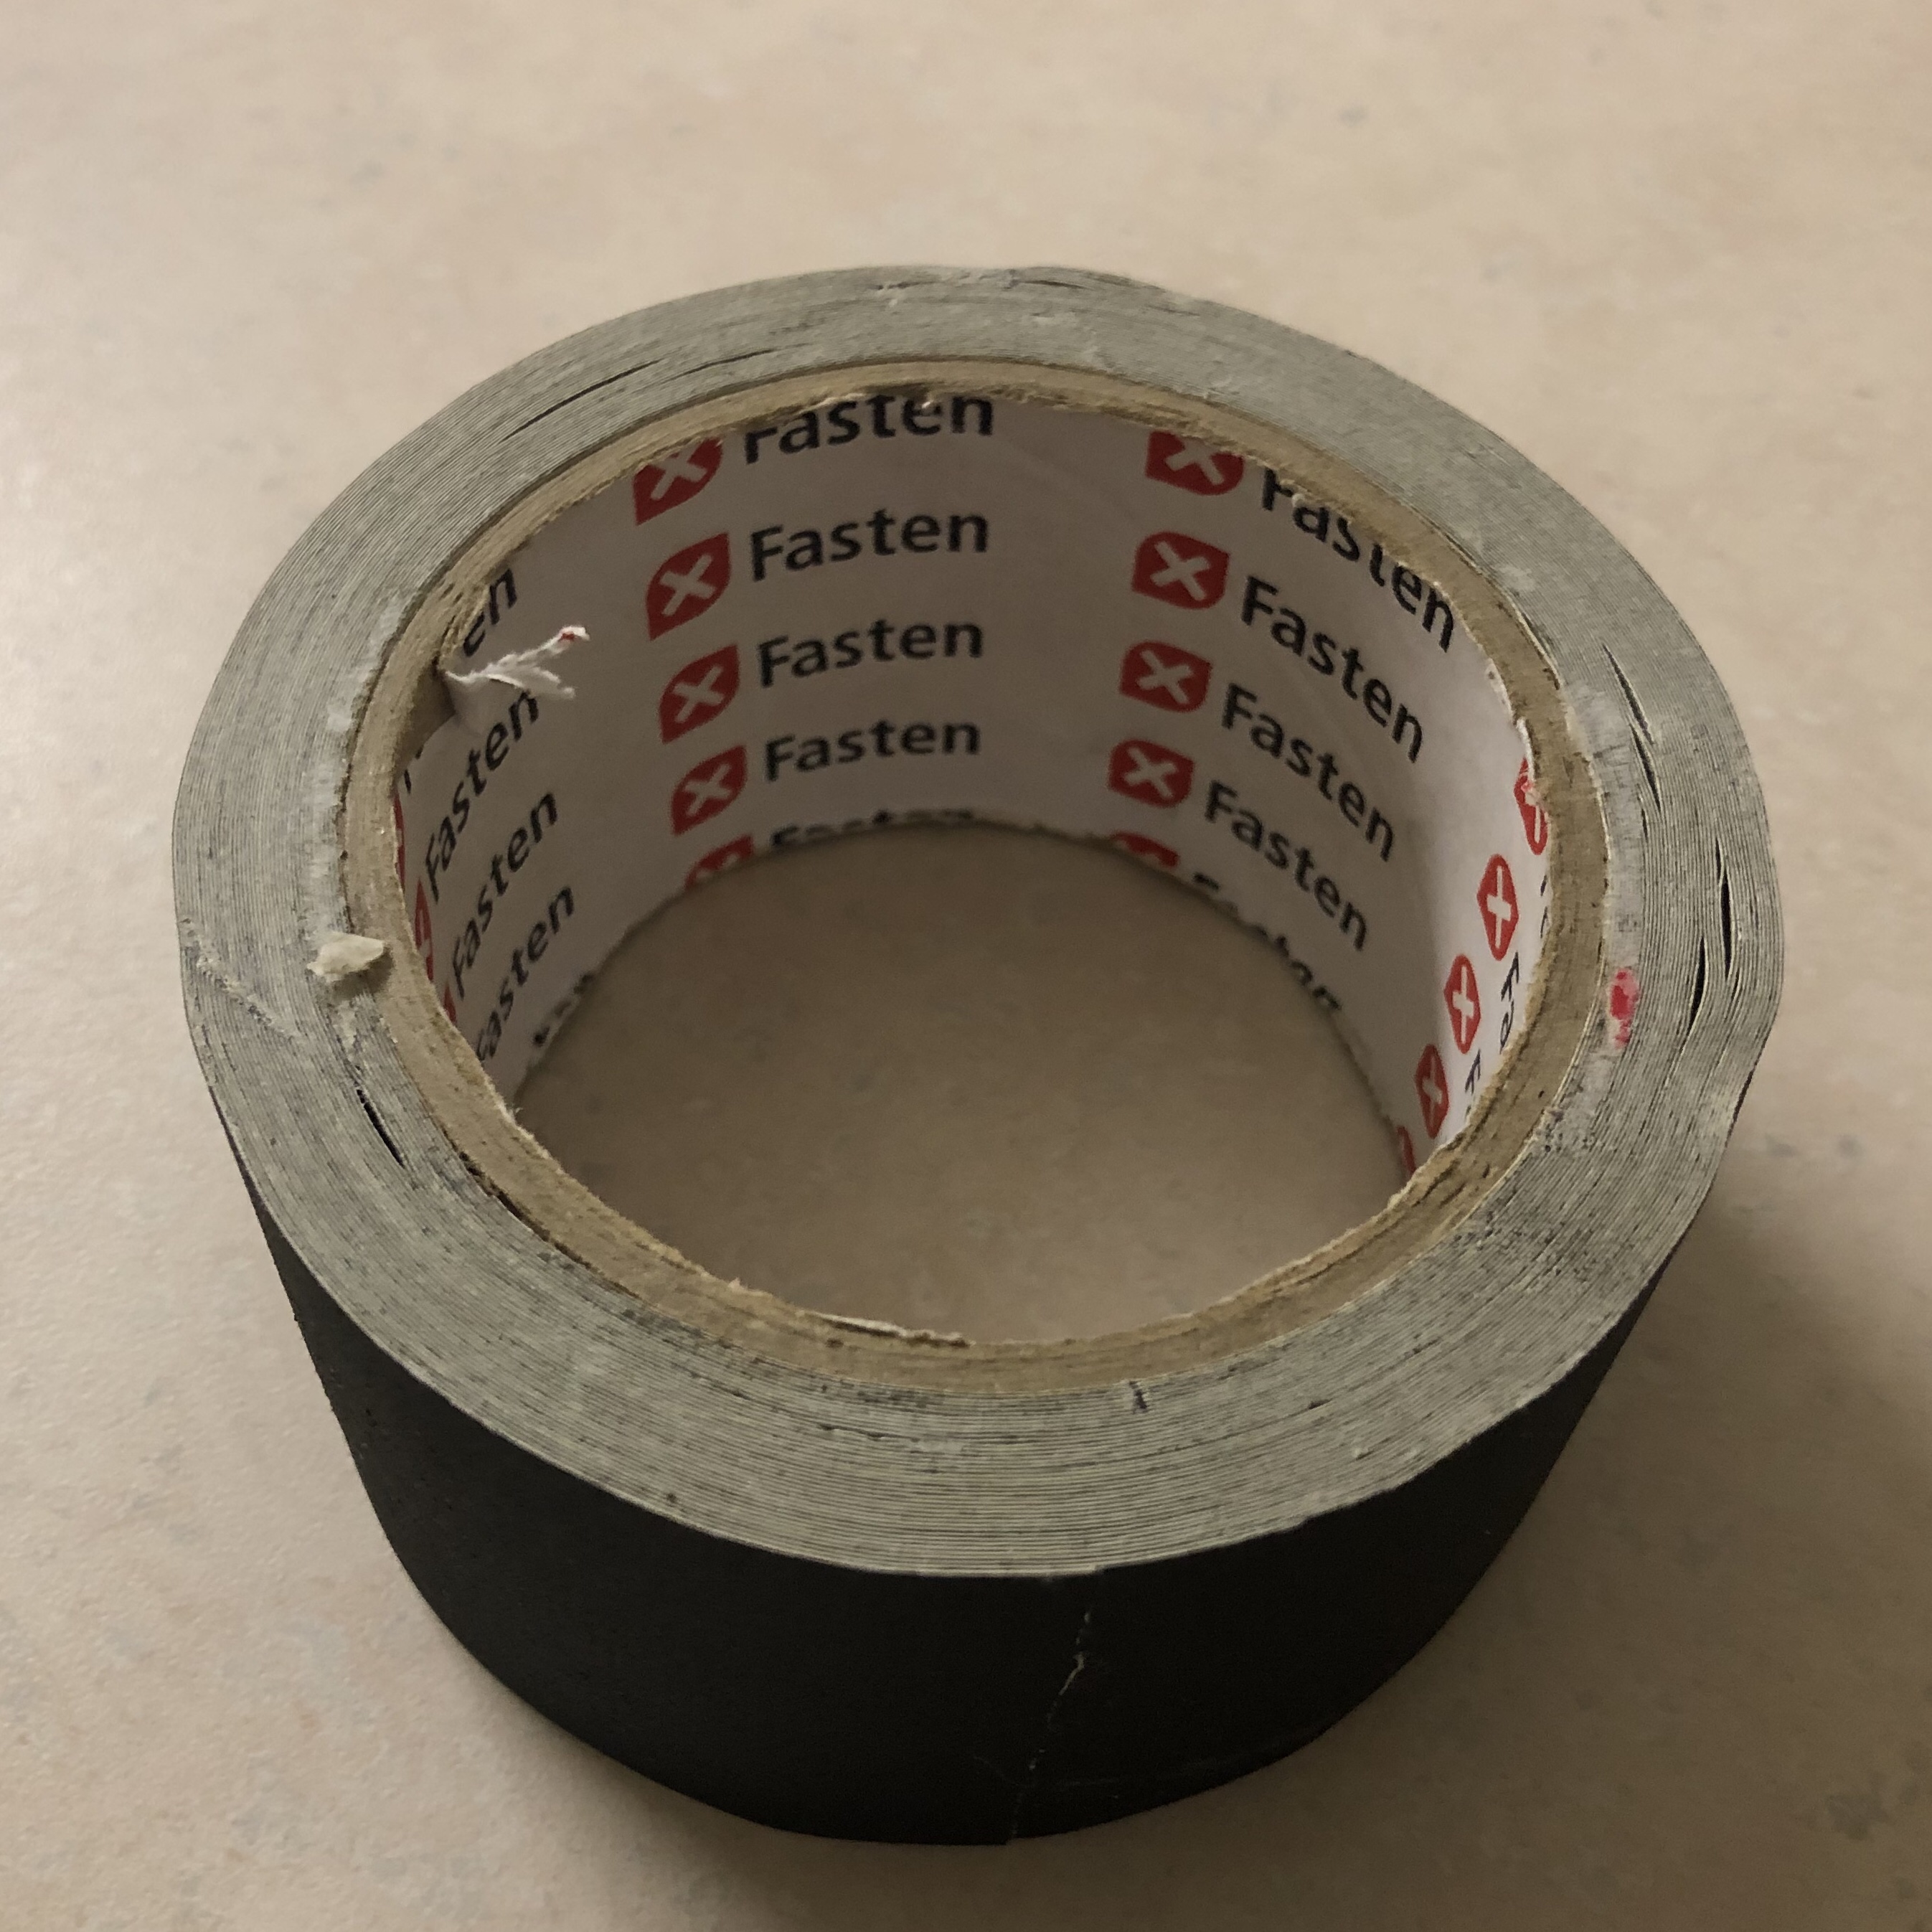
Some gaffer tape
-
A tripod
-
A digital camera with a macro lens
-
A bubble level
Step 1 — cut holes in the box
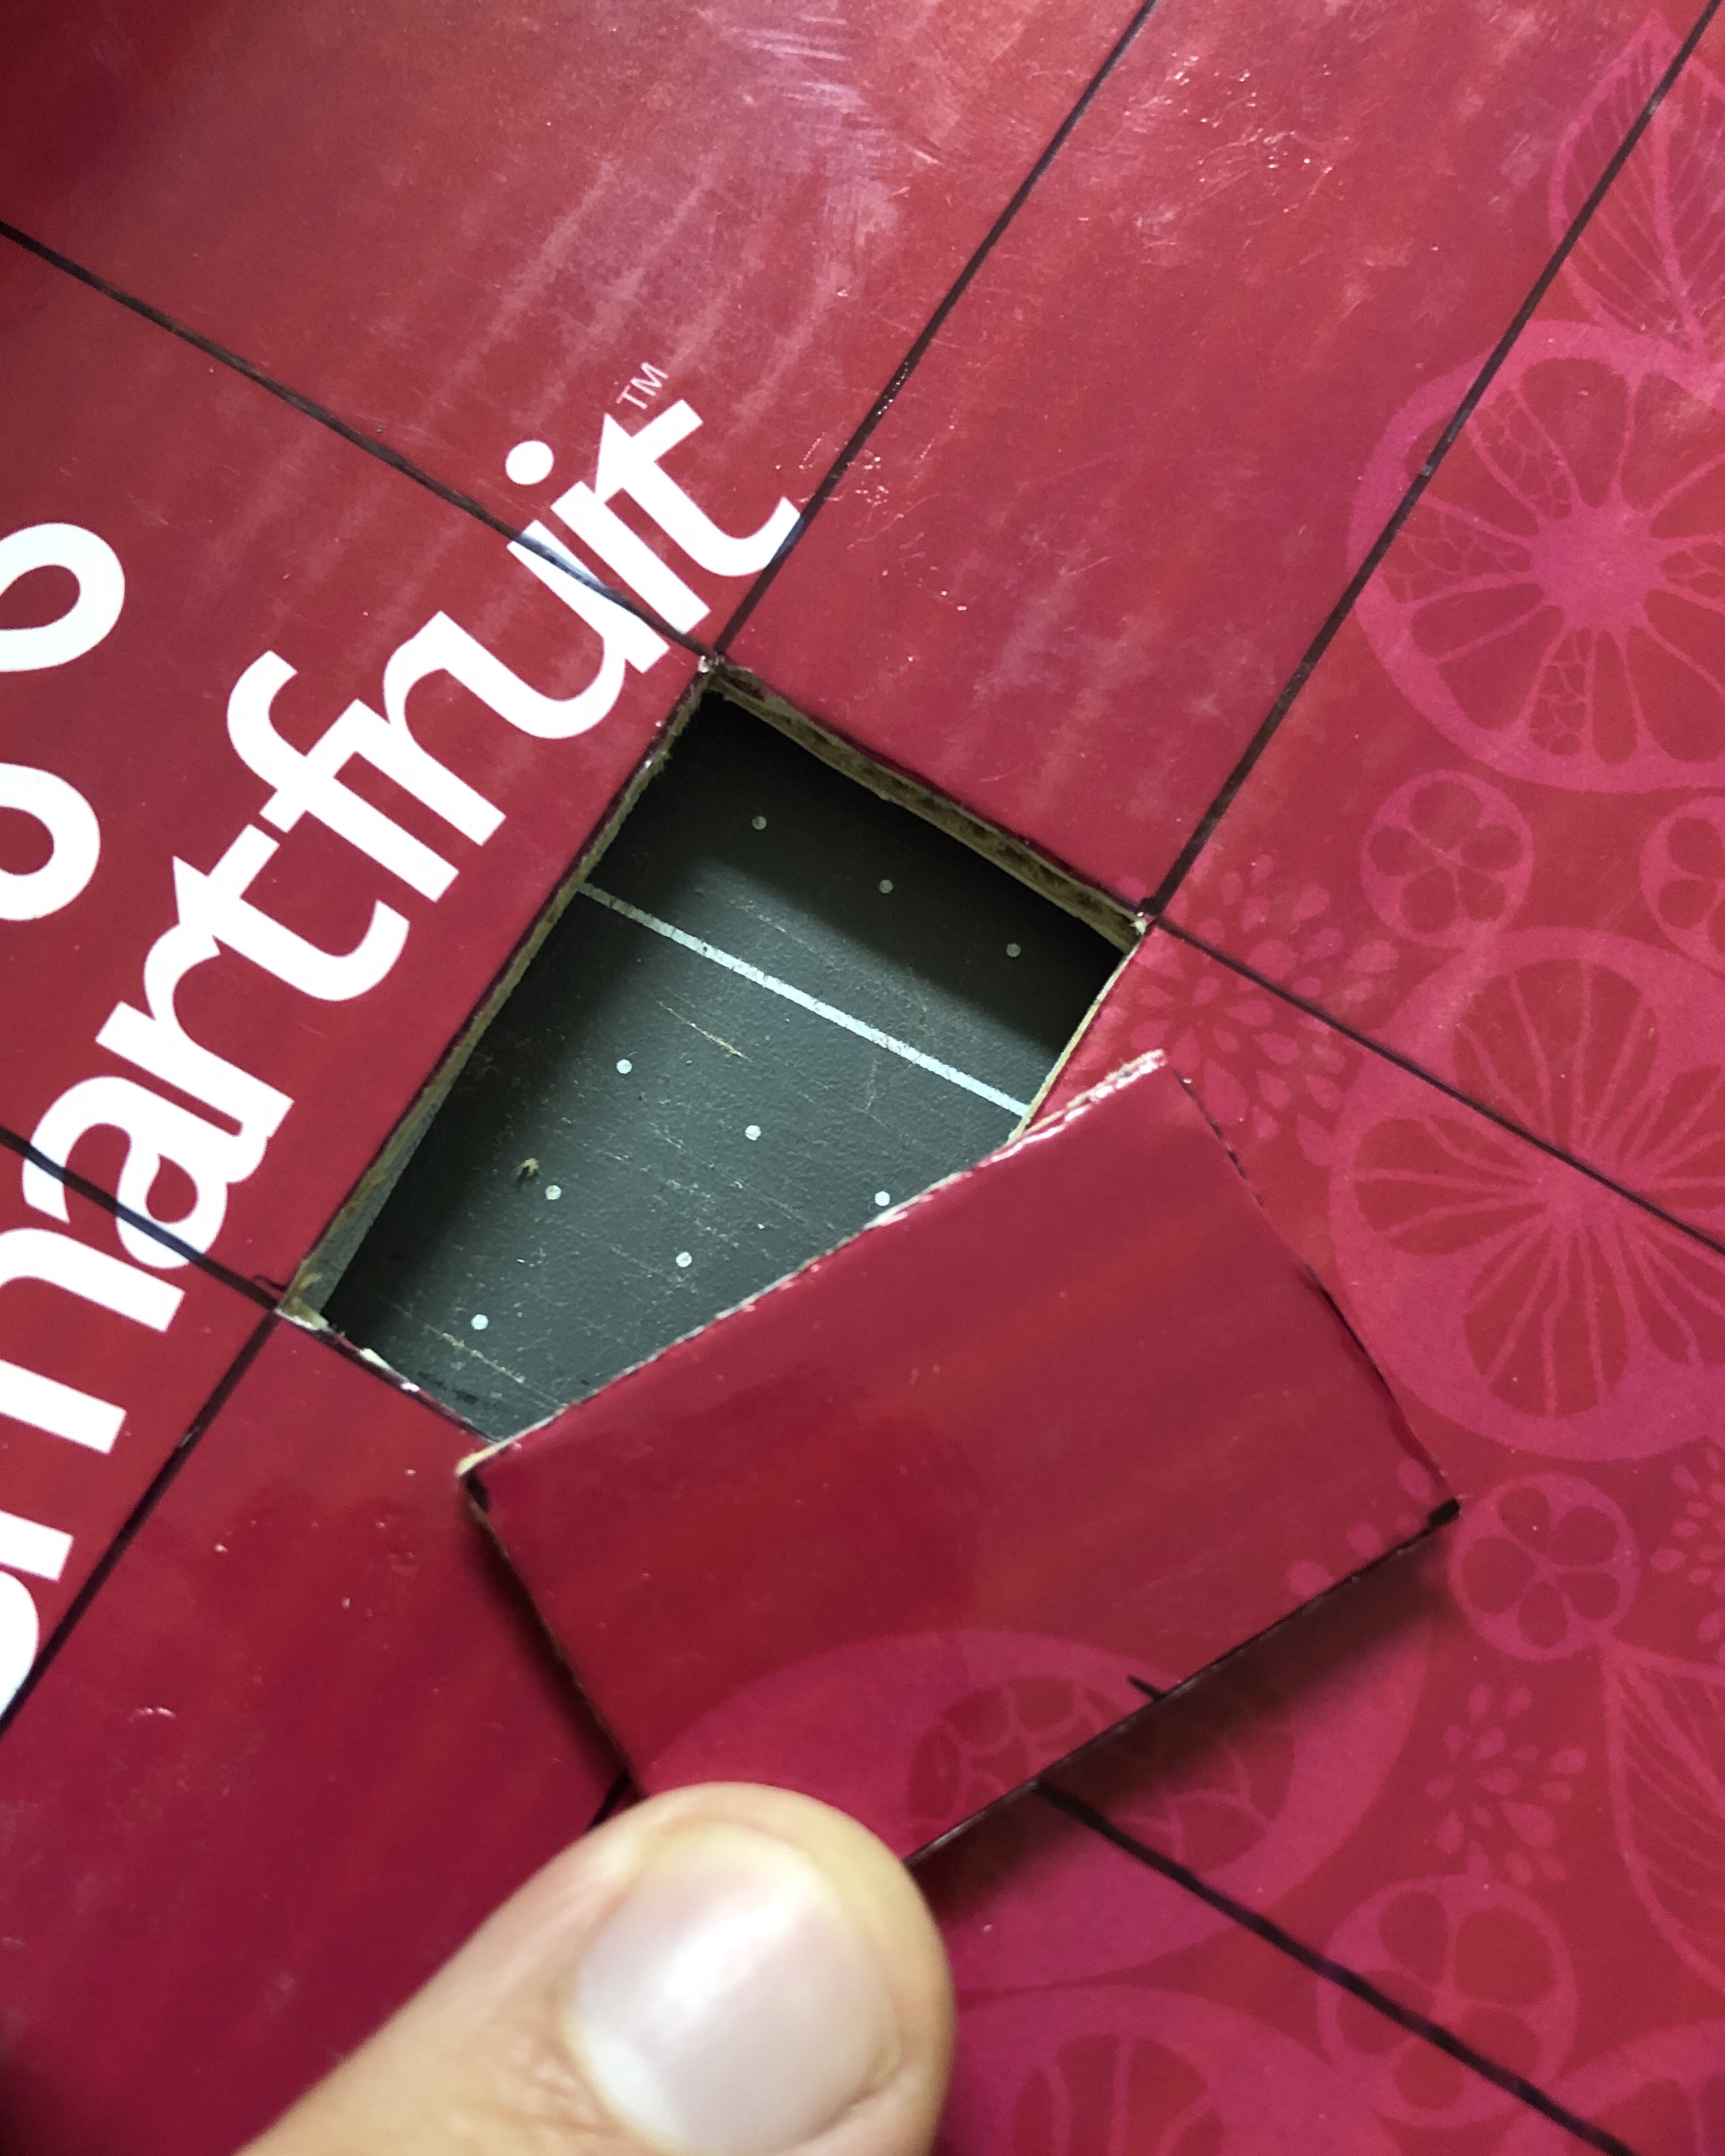
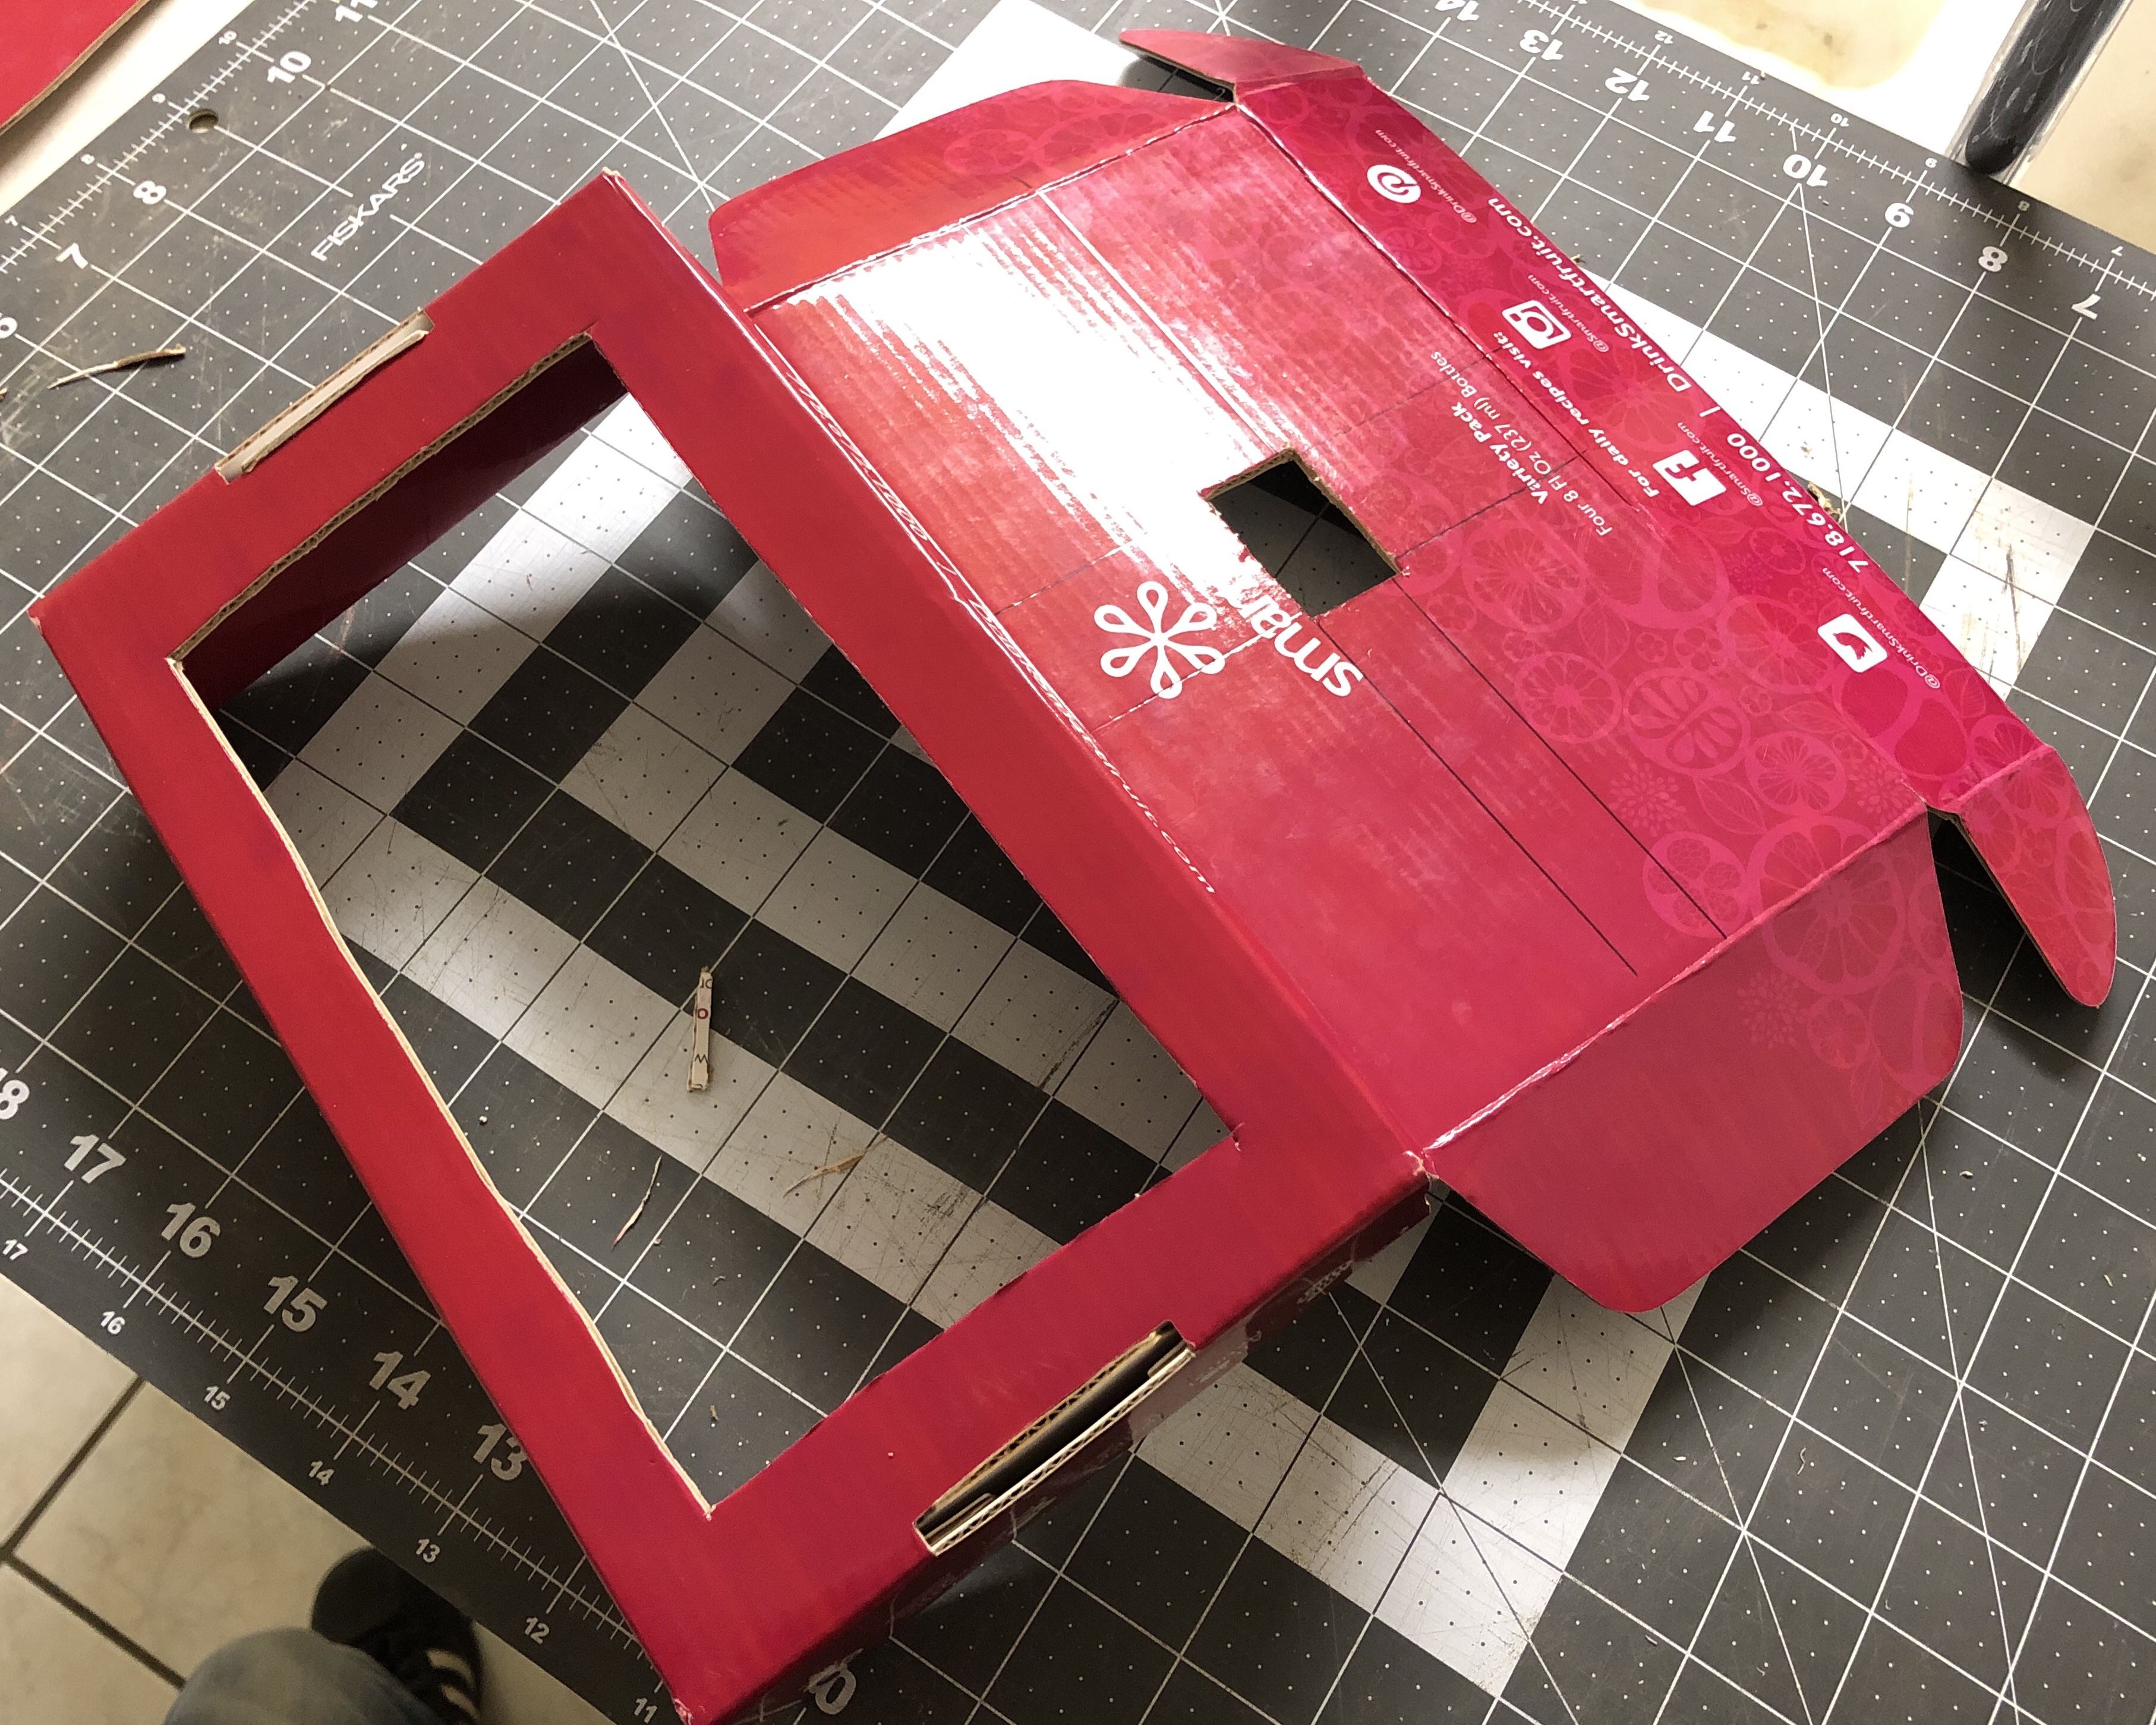
You’ll need to cut two holes on opposite sides of the box: one hole needs to be the precise size of the film that you are scanning, and another needs to be about the size of your light source. I think that iPads (or any decent tablet) make the best light sources because the backlight on an iPad screen happens to be essentially a very high end light box. There is a lot of engineering that goes into an LCD’s backlight in order to get very even lighting, which is great for scanning.
But you can use just about any screen that lays flat on a table, and of course you can also use your phone. But if you’re using a phone, you’ll probably need a much thinner box — like a small cereal box or a box of crackers — because the phone doesn’t generate as much light as an iPad, and therefore it has to be closer to the film plane. If you have an iPad, any old shoebox will work.
The film hole should be in the center of the box and it needs to be about a millimeter bigger than the exposed area on the film, so cut it as close to 37mm x 25mm as you can get it if you are scanning 36x24mm negatives. If you make the hole too big, then too much bright white light leaks around the corners and it can mess up your scan, and if you make it too small, then you cover up some of your negative and are effectively cropping the image. So take your time to get the size just right. Also, you should make sure that it is positioned right above the center of the larger cutout you made in the other side of the box for the light intake.
Step 2 — tape the business cards to create the feed
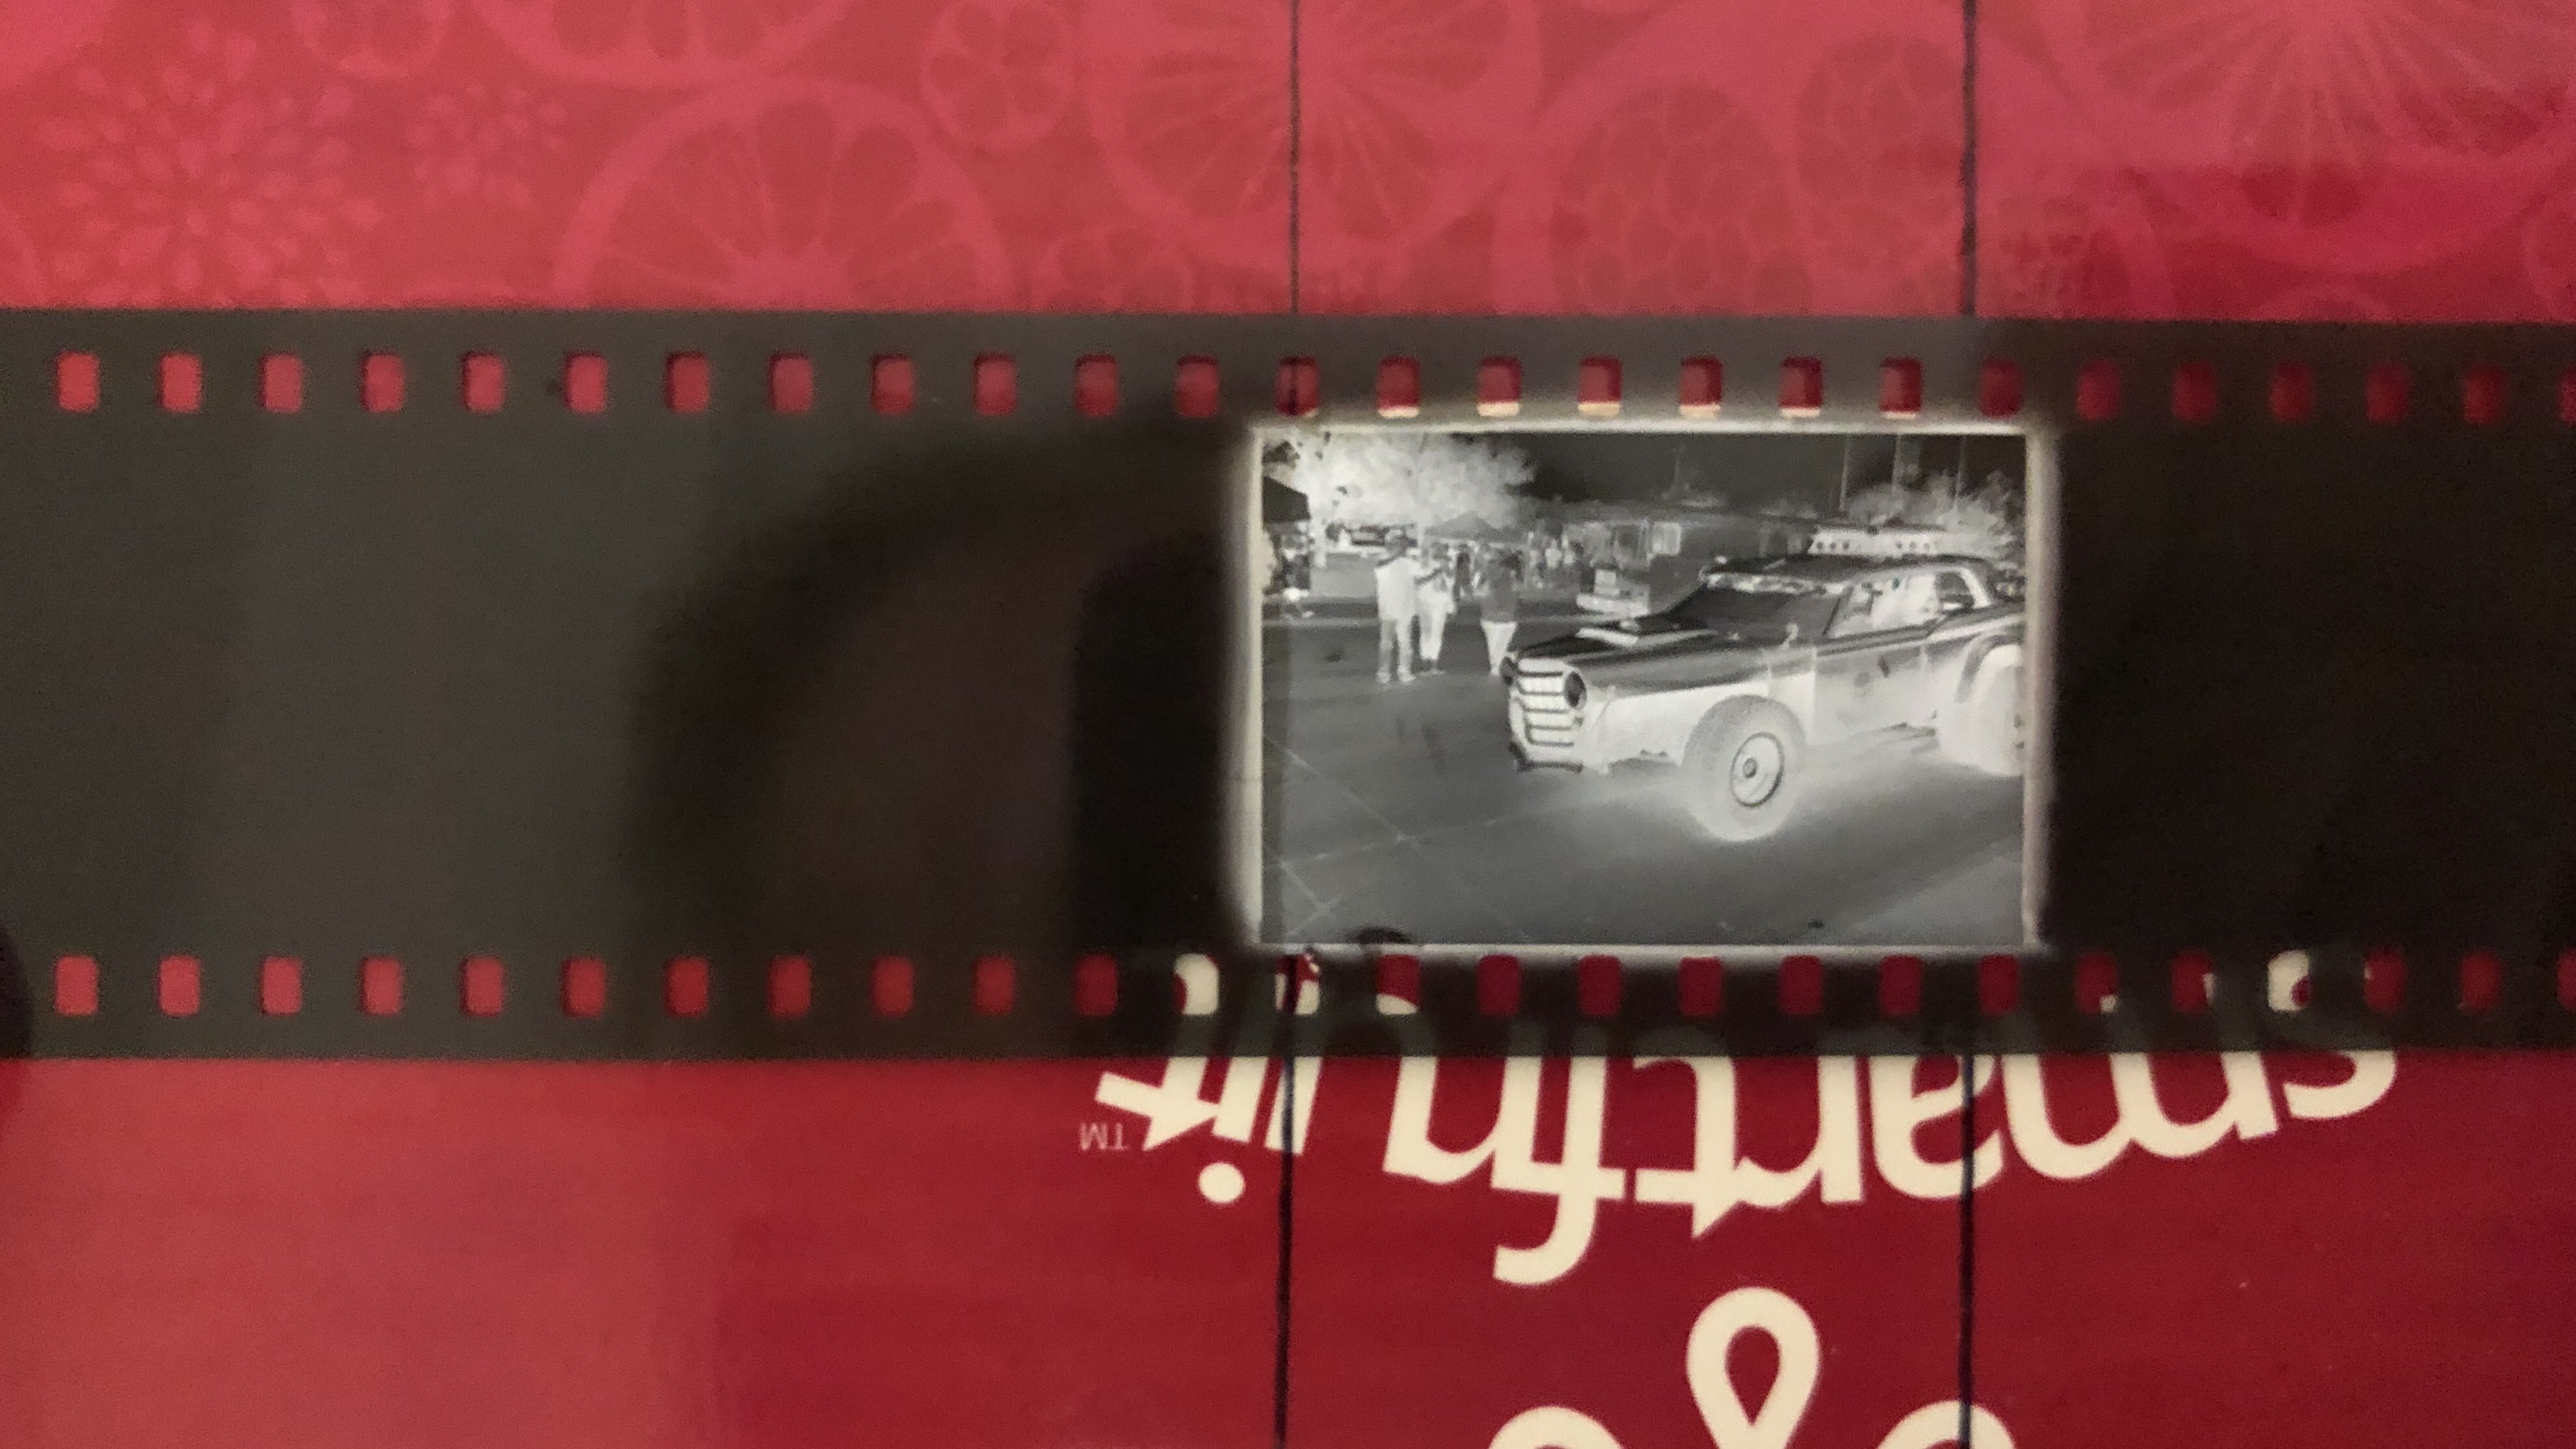
Align two business cards along the short edges of the cutout for the film, and then tape them down with two strips of gaffers tape that run parallel to the long edges of the cutout. The tape should be spaced so that it is exactly as wide as the full width of the film (including the perforations). This creates a channel that you can feed the film through and that will position the film precisely over the top opening.
Step 3 — set up your camera
It ultimately doesn’t matter what camera you use, and you can actually get surprisingly great results with a cellphone. But if you’re chasing after the highest possible quality, then you want to get as close to a 1:1 macro on a full frame sensor as possible. If you have this, then the negative can be focused so that it more or less covers the entire sensor, which will maximize the resolution of your scan.
Macro lenses are also important because they tend to have lower distortion across and higher sharpness across the frame, and have higher reproduction ratios and can project the image from your negative onto more of the sensor. So for example while a 1:1 macro will project the full frame of your film onto the full frame of the sensor, a 2:1 macro will only project half of it. Non-macro lenses are usually 4:1 at best, so you start losing quality quickly if you decide to get a normal lens. That being said, a 4:1 magnification ratio can actually a good thing if you’re trying to scan medium format negatives onto a full frame digital sensor because 6×6 negatives are about four times bigger than a full frame sensor.
If you don’t have one and if you’ve looked at the prices, you might have noticed that 1:1 macros are rather expensive, but fortunately you can get extremely affordable macro rings that can get you to the same level of magnification with a lesser lens for just a few dollars. The only downside is that you can’t focus on faraway objects with these installed, but you don’t need that when you’re scanning anyway.
Mirrorless cameras are better for these purposes because you can adapt pretty much any lens to a mirrorless camera, and therefore you have a lot more options for lens choice and you can probably find something really cheap on EBay. Pretty much any macro lens made in the last thirty or forty years will work great. I got a cheap Nikon 55mm f3.5 macro lens on eBay for like 20 bucks, and the adapter cost me about four dollars.
Pretty much any tripod will do, but it’s nice to have an adjustable center stock so that you can easily slide your camera setup up and down to get it in the right position so that the film takes up as much of the frame as possible. The size of the film will change when you focus, so you have to play around with the interplay between how far the camera is from the film and the focus until you get good framing.
Step 4 — Set up the scanning
Find a low table, place your iPad or phone on it, and get a pure white picture on the screen so that the backlight is as uniform and bright as possible. I use this YouTube video, because it will keep your light on for longer periods of time without the screen automatically turning off (https://youtu.be/NnoPB4odL5w). Then place the scanning box on top of iPad, and set up your tripod so that your camera is pointed at the negative and it fills as much of the frame as possible. It’s also best to use a bubble level that you can slide into your camera’s hot shoe mount to make sure that you camera is pointing straight down at the negative.

Step 5 — scan the pictures
Always shoot in RAW, make sure that the lights are off in the room, and make sure to set your camera on a timer so that your cheap tripod setup has a few seconds to stop shaking before it takes the picture. Slide each frame of film into the channel so that it is perfectly positioned over the hole and there is a ring of bright light all the way around it, get it in focus (use the zoom to focus function that’s available on mirrorless cameras to make sure that critical focus is perfect — specifically look for the film grain to make sure that the focus is perfect), and then press the button to take the picture. Repeat until you’re done with the strip.
A bit of advice about best practices, camera settings-wise:
you will want to make sure that your camera is locked in on ISO 100 for maximum quality, and I would also stop down the aperture on your lens to something like F8 or even F11. You’ll have to shoot with long shutter speeds (usually about three or four seconds) to compensate for the significantly reduced lighting with this setup, but it is necessary because shooting at your lens’ largest aperture will have such a thin field of focus that you will run the risk of having parts of your frame out of focus since this shoebox and tripod contraption isn’t exactly great at keeping the film perfectly flat. Larger apertures also yield sharper results.
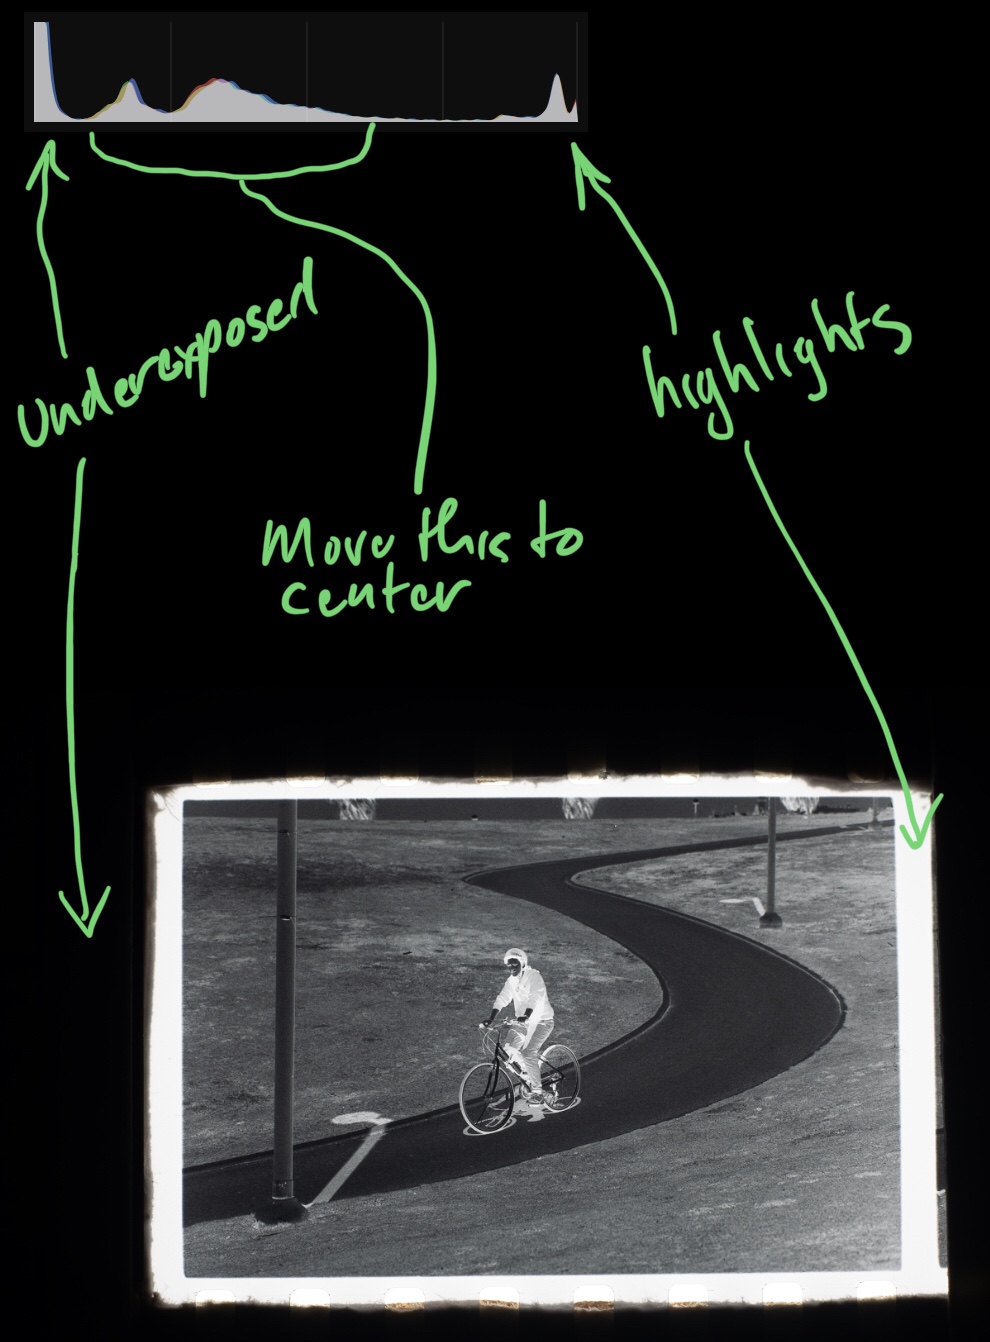
The other thing you’ll want to pay attention to is your histogram. Make sure that you are exposing each image so that the greys are more or less in the center of the exposure range on your histogram, because that will give you the most editing latitude. Keep in mind that there will always be a large dark area (the unlit cardboard box), and a smaller white area (the white bar of light that surrounds the frame), so there will always be peaks in your histogram in the far into the highlights and the darks. Just try to get everything that is in between these two peaks to be more or less in the center.
Step 6 — edit them in Lightroom
If you’re shooting black and white film, this part is super easy. Just load the images into Lightroom (or pretty much any other photo editor), and flip the ends of the curve as shown in the video below, and then edit either the levels or the curve itself to taste. Note that since you reversed the curve, everything is backwards. Blacks actually changes your whites, highlights actually change your shadows, and so on.
If you are working with color film, it’s a little more complicated because you have to play around with the three channels (RGB) and edit in a way that negates the natural orange tint of the film, so it’s not just a simple matter of inverting it. You also have to play around with the color balance relative levels between the three. I’ve only messed with this a couple of times, so it’s not an art I’ve mastered yet, but I’ll write a tutorial about that too whenever I get around to figuring it out.
